Follow these steps to use the Configure Package feature in Business Central.
Step 1: Get the table number.
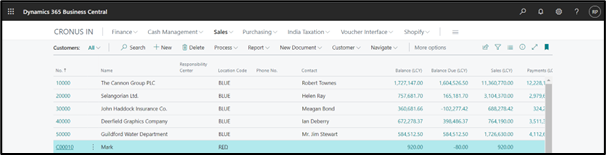
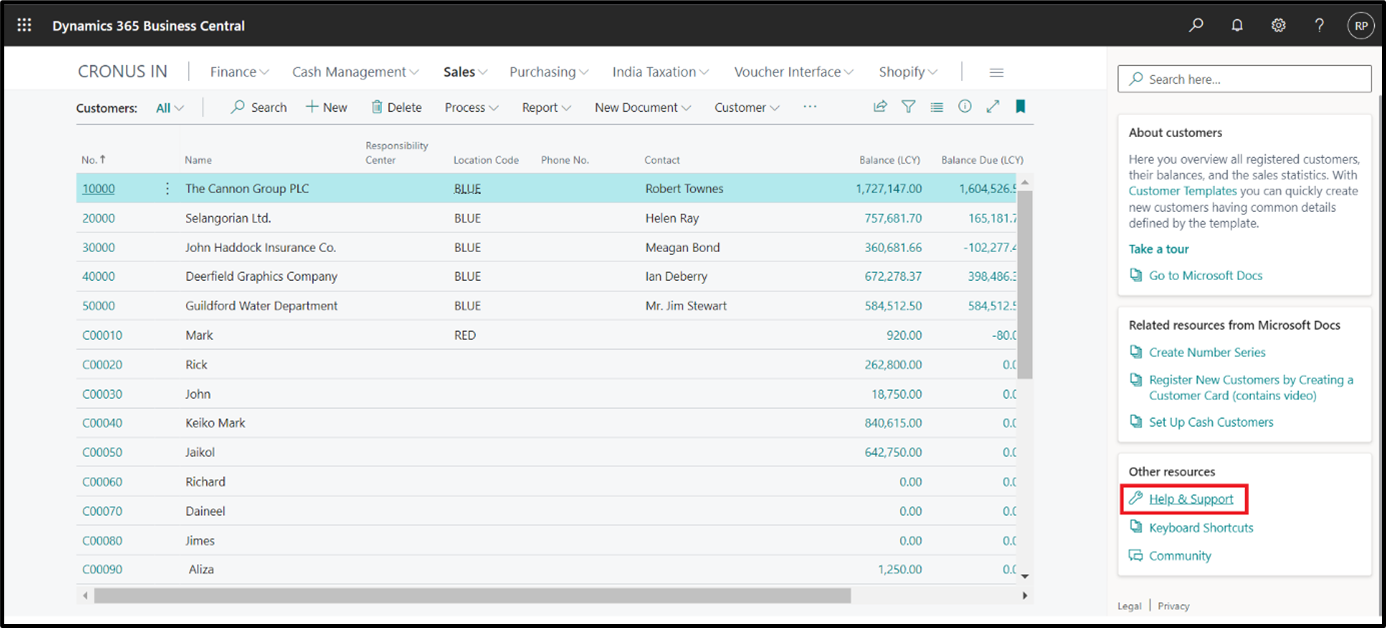
First, you need to know the table number and which table data you want to upload in BC. If you want to upload the customer data go to the customer window, then in the top right-hand corner of BC click on '? or Ctrl + F1 key "and then select 'Help & Support' & click.

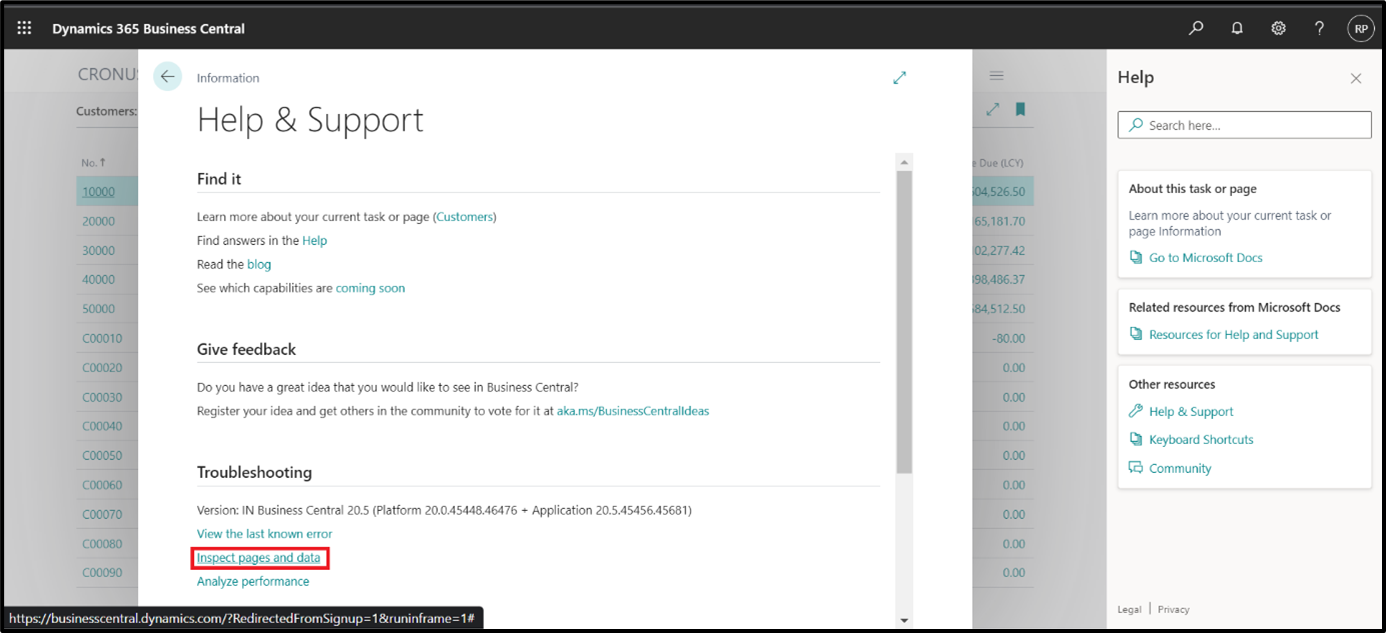
After selecting Help & Support, a new page will open. Scroll down and under the Troubleshooting tab, click 'Check pages & data'.
This opens the page view window, which displays information about the current page. The most important thing is the table number. The table number is 18 in this example. The reference to the table is 'Customer (18)'.
After the Click “Inspect pages & data” side Fact box will open and display table no. & pages. Table No. 18 for Customer Upload. Users take note of Table No. and close the side fact box.
Step 2: How to create a new Config Pack.
The second step is the creation of the configuration package. Search for 'configure packages' and select 'Configuration Packages' in the search bar or Alt+ Q.
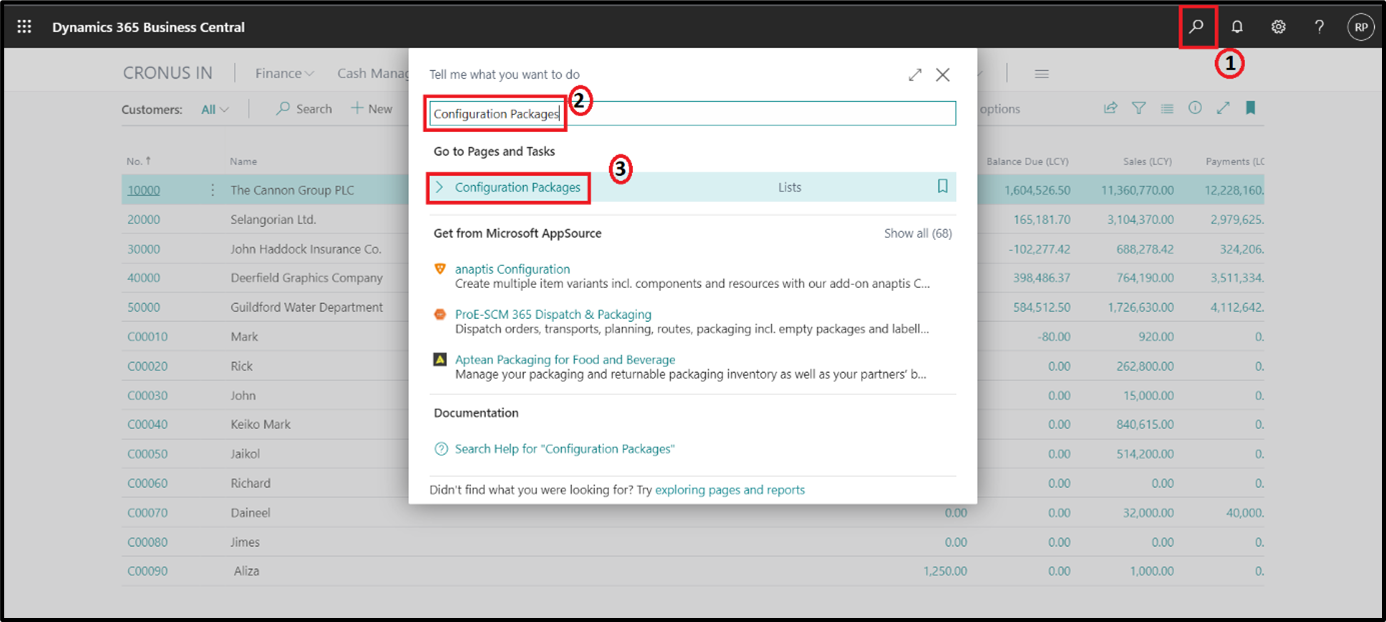
After the click Configuration Packages window will open after that click ‘New’ and set up the configured package for the customer.

A code and package name must be specified by the user. In this sample, the name will be 'Client (Customer).
No need to give the code the package and the Name. If you want to upload a customer, you can give the name “Customer”.

Enter the Table ID No. that was identified in the Page Inspection Step 2 Process.
In the image below, 18 has been entered in the "Table-ID" area and the user's tab has been used to automatically fill in the table name.
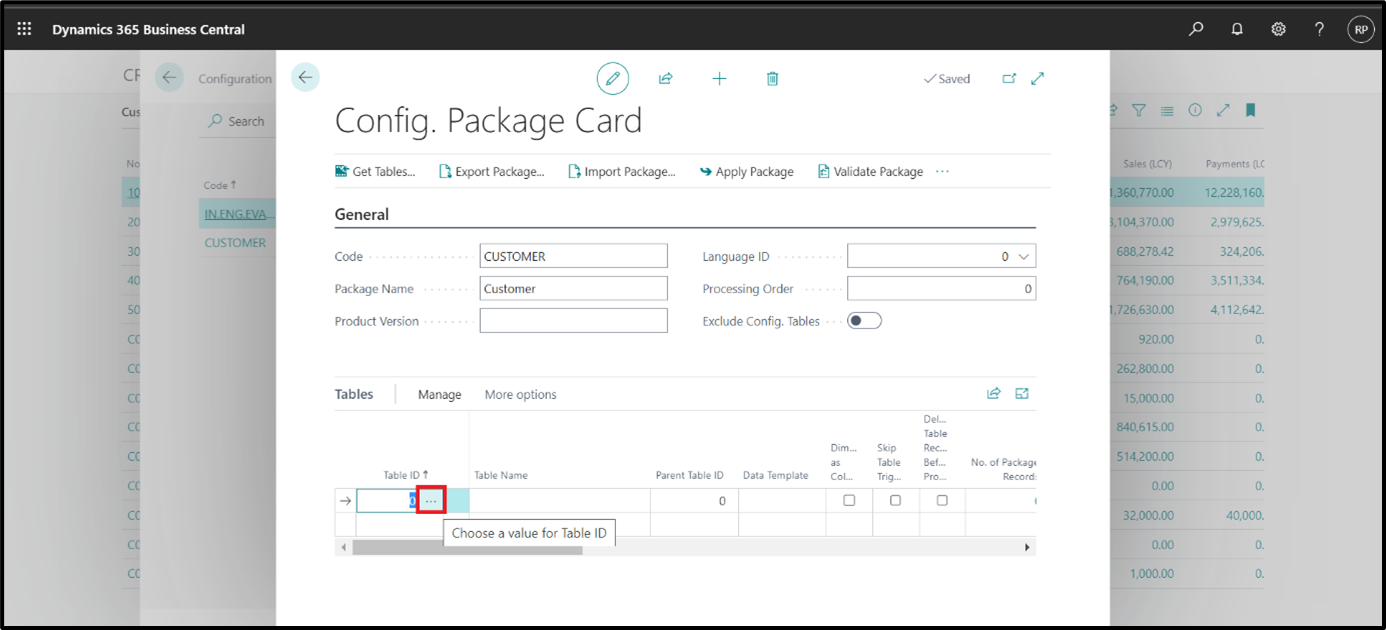
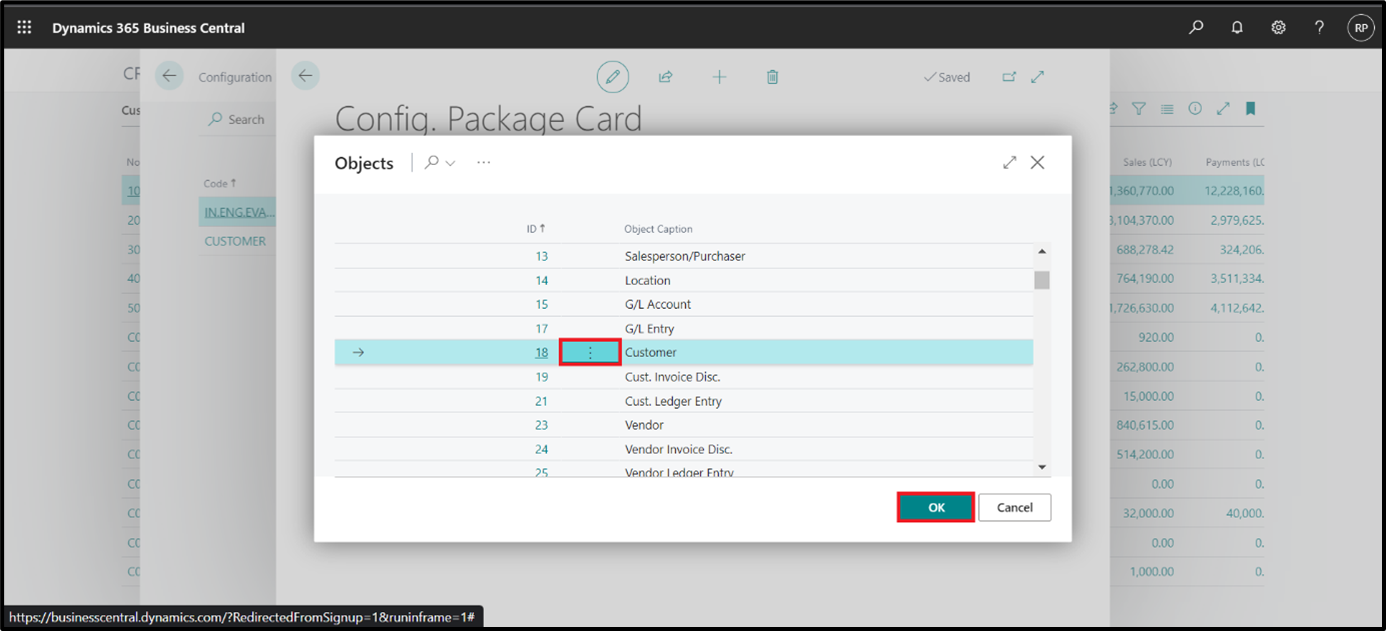
Users can enter the table ID no. directly or click three dots and select the customer table. After selecting the customer table, the name, and relevant details auto-update in the Configure package line.
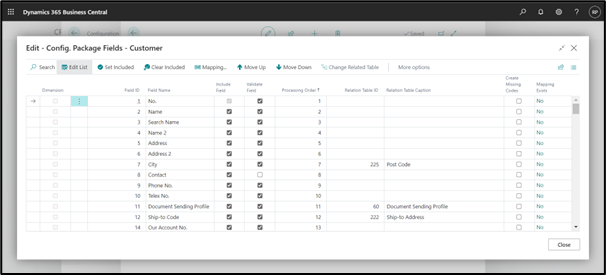
Step 3: Verification the Template fields.
Before export user will select the required mandatory/ Included. If the user wants to some field, then click on include Boolean. It means checkmark fields column export in the data templates.
Close the fields column selection once the user will select the required fields. Refer screenshot below.
Step 4: Export Excel Template sample data.
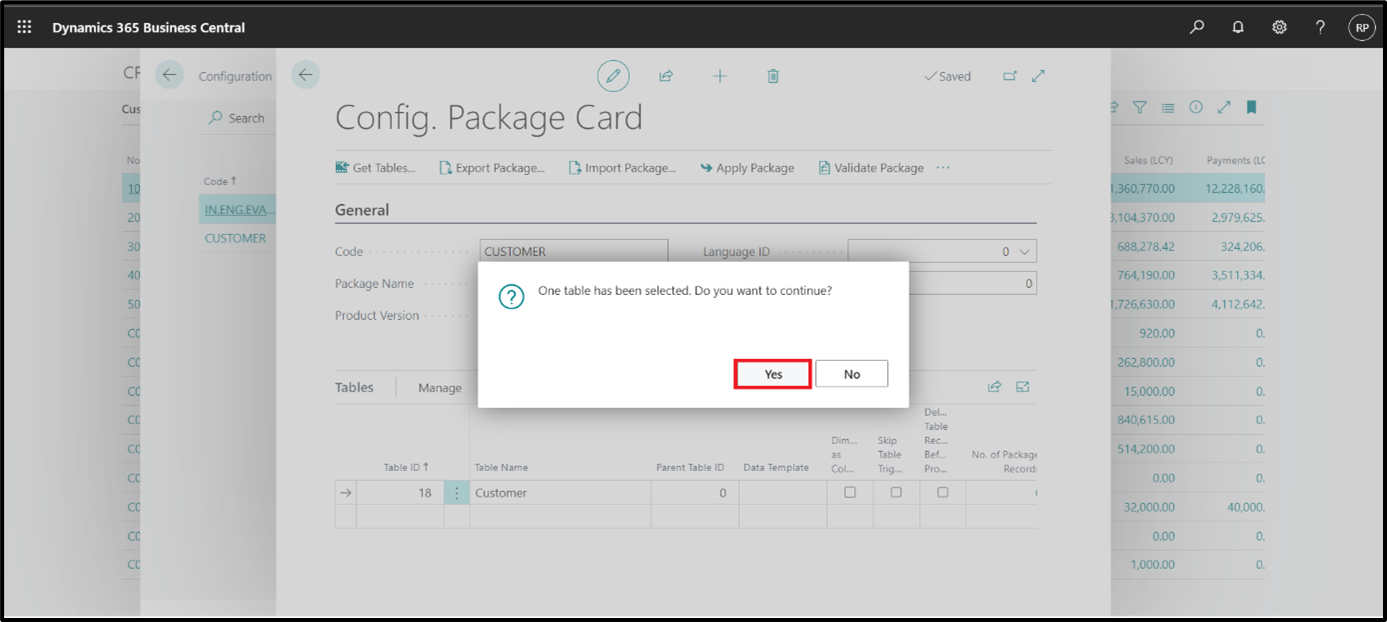
Return to the Configuration Package card, click the Excel Function button, then click the Export to Excel button.
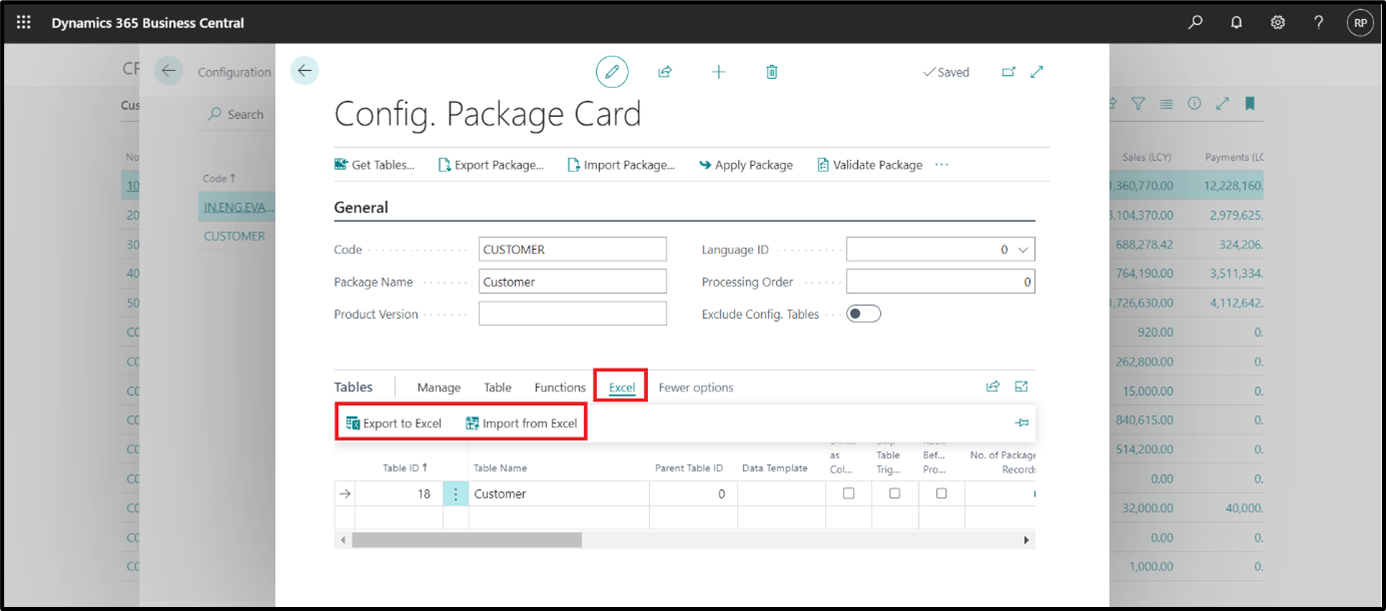
This will download an Excel file with all the checkboxes checked in the previous step and add all records currently in the system to the spreadsheet. Click Yes before you are asked for confirmation and refer below screenshot.
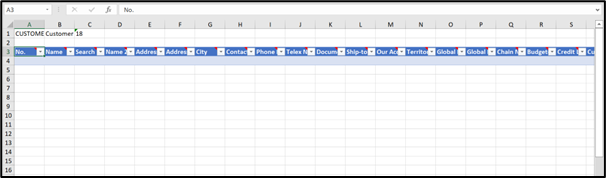
Open the downloaded Excel file. The next step is to delete the existing rows of data in the export file, then save the Excel file as an import template for the records the user wants to import.
In this example, we import customers. So we can use the same Excel template and then use the customer configuration package the next time we want to import customers.
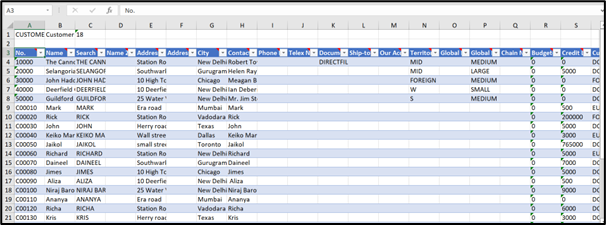
After the user saves the Excel template, they enter the customer data that will be imported into Business Central. Below is the customer data that will be imported. After filling in all the data, save the Excel file and navigate back to Business Central.
Step 5: Import Excel files and apply data.
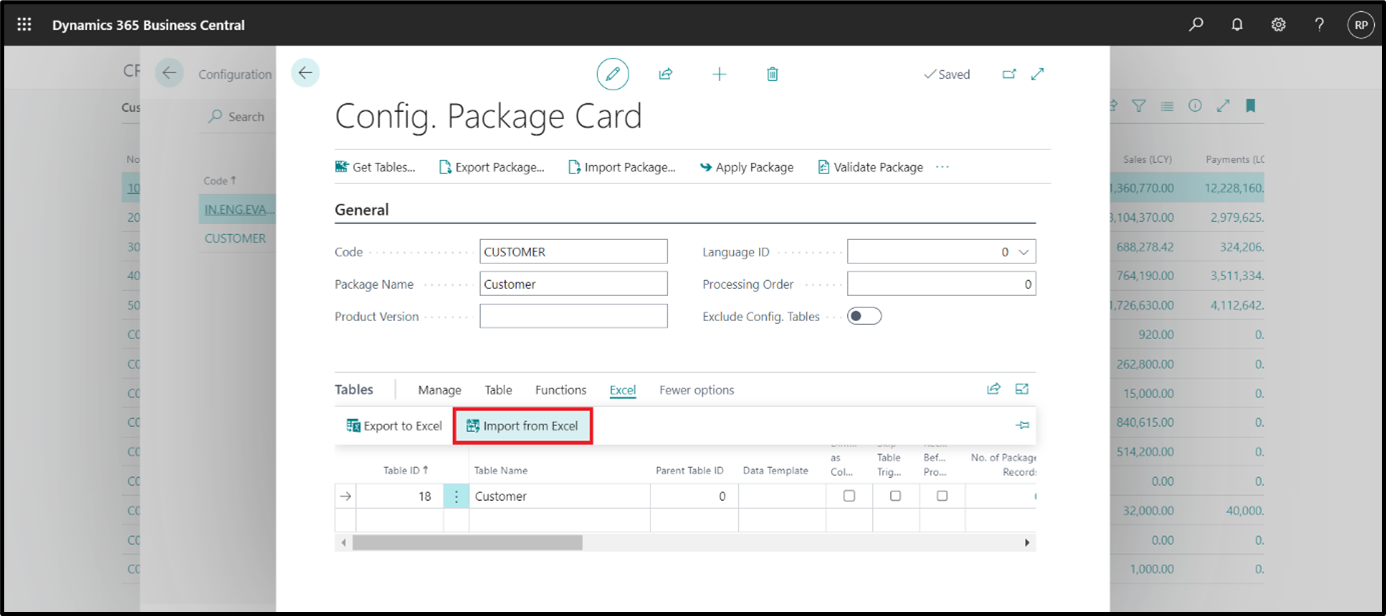
Once the user is ready to import the Excel sheet data, go to the Configuration Package list and selected the relevant package that the user has created in the previous steps. Select the customer configuration package, click on Excel, and select Import from Excel.
Click Select and the File Explorer will open where the user can select the Excel file containing the data to import.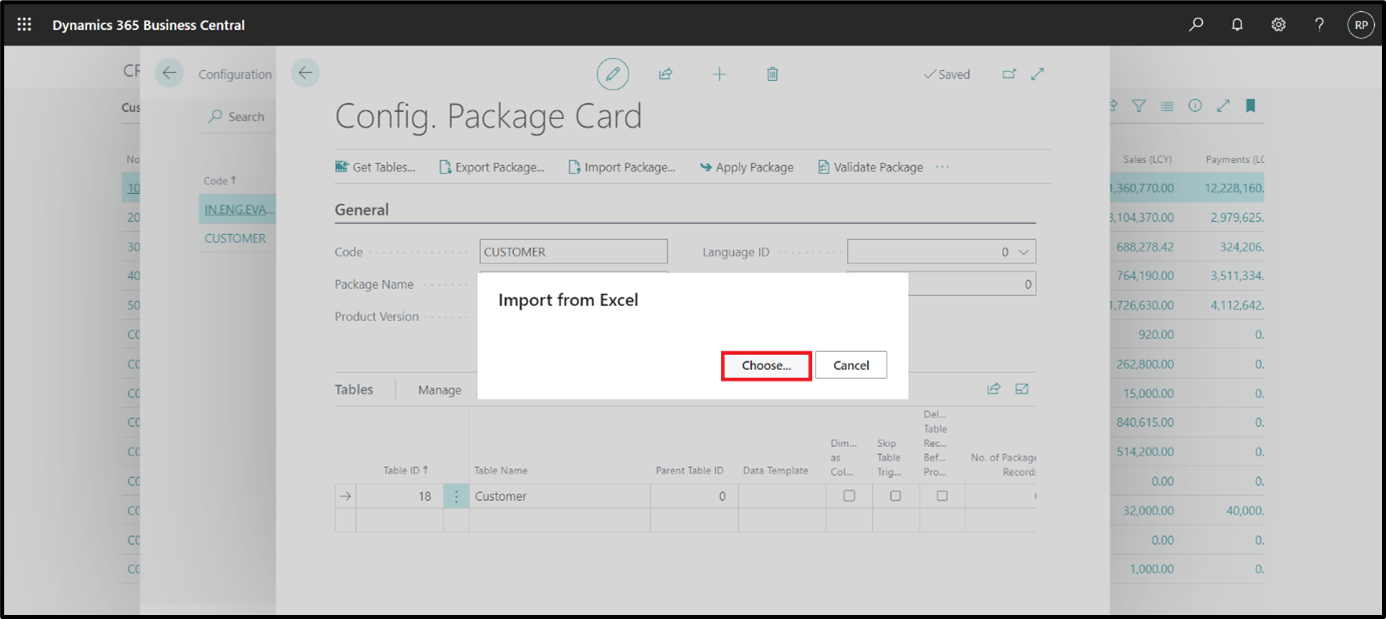
After the user selects the Excel file and clicks Import, another window appears as shown in the image below.
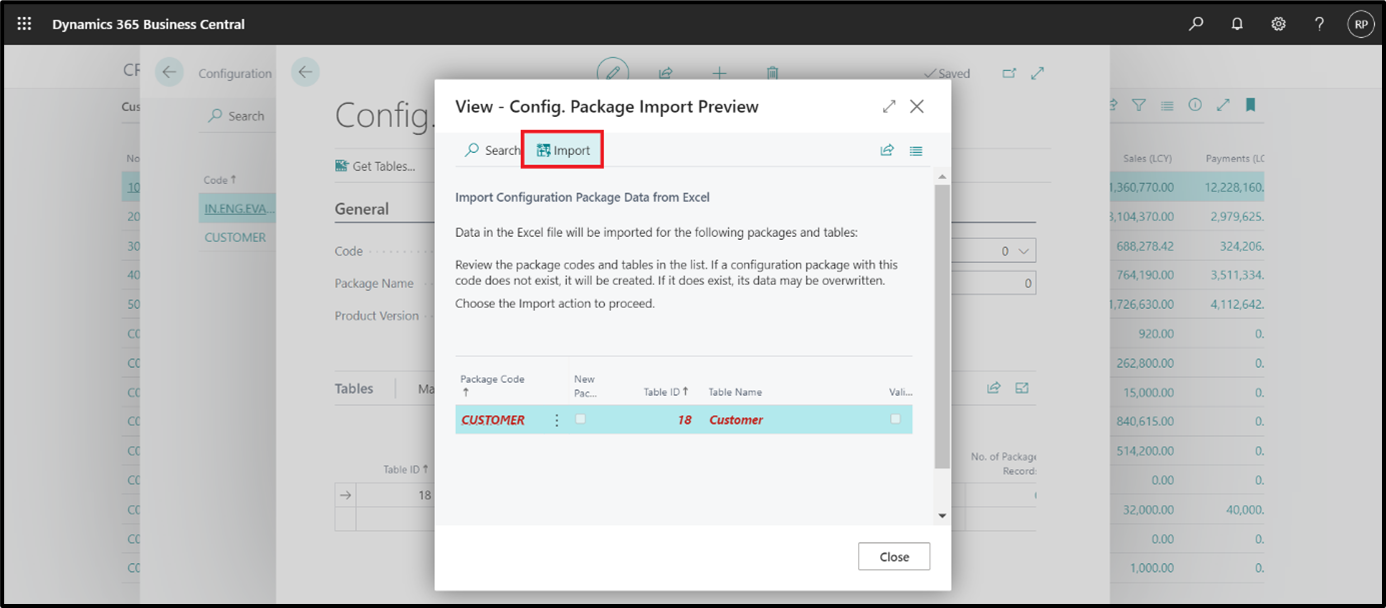
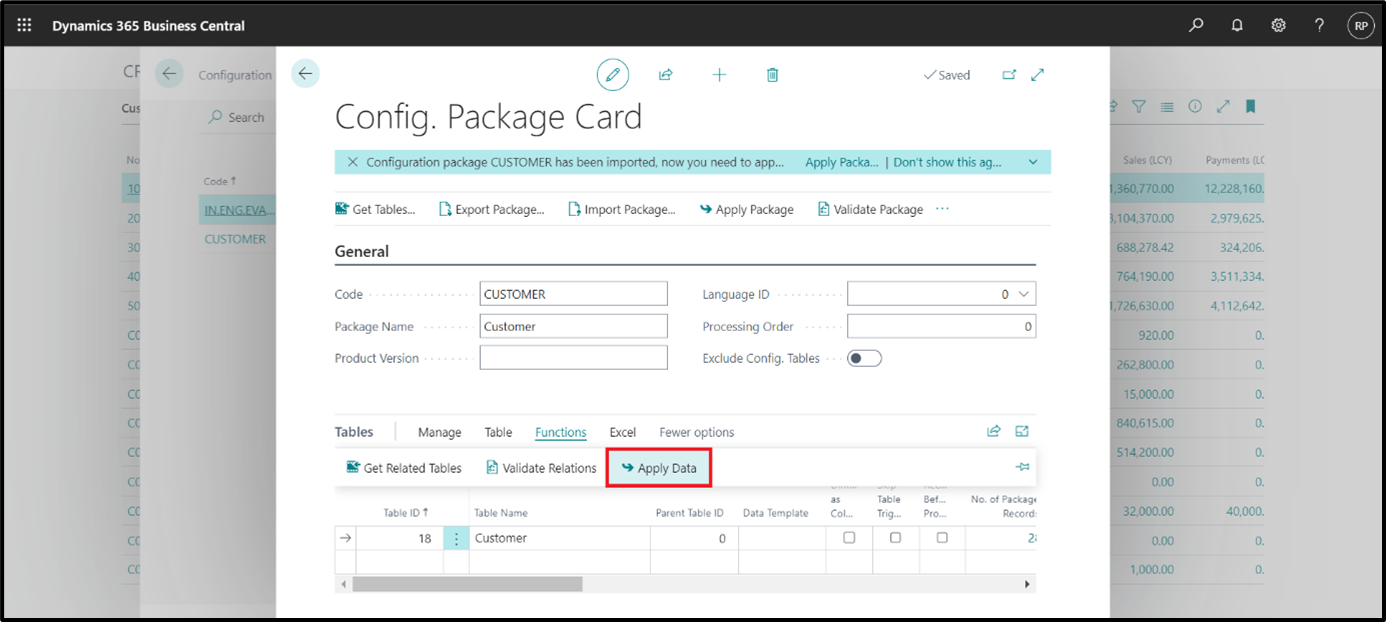
The customer data has now been imported into the configuration package but hasn't yet been added to the customer table. Now click on 'Functions' and then choose 'Apply Data'.
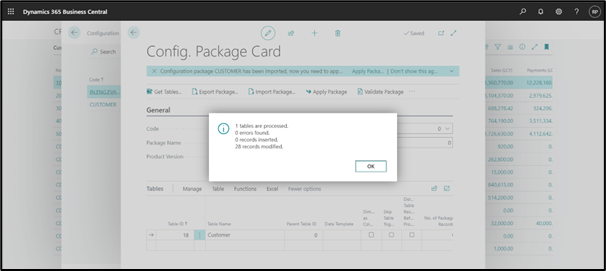
A pop-up window is then displayed with a summary of the data processed. The screenshot below shows that the number of records has changed. If there has been an error, an error report will be checked, and the user will check, resolve, and try again.
Step 6: Verification of the imported data
If the user wants to check the data in the customer record themselves. This example has been done for modified records and we can see that they have been modified and applied correctly.